DIY Mushroom Grow Kits: A Simple Start
Eager to experience the magic of mushroom growing but feeling a little intimidated? Don't be! Creating your own mushroom grow kits is a surprisingly accessible project, even for beginners. This guide breaks down the process, using pre-inoculated blocks to significantly simplify your foray into home cultivation. Forget complicated lab setups - let's get started with a fun and rewarding project that brings gourmet flavors right to your kitchen.
Understanding Pre-Inoculated Blocks
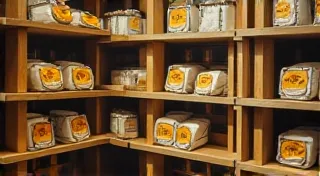
Pre-inoculated blocks, also known as substrate blocks or grain spawn blocks, are the secret weapon for easy mushroom growing. These blocks are essentially a mixture of materials (like sawdust, straw, or wood chips) that have already been colonized by the mushroom mycelium – the vegetative part of the fungus. This saves you the often-tricky process of creating your own spawn, allowing you to focus on fruiting. The science behind this colonization is fascinating, and if you're truly interested in the deeper aspects of fungal biology, you might find advanced mycology a rewarding area to explore.
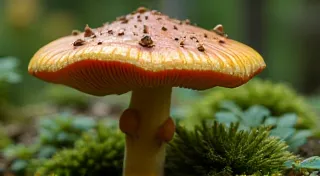
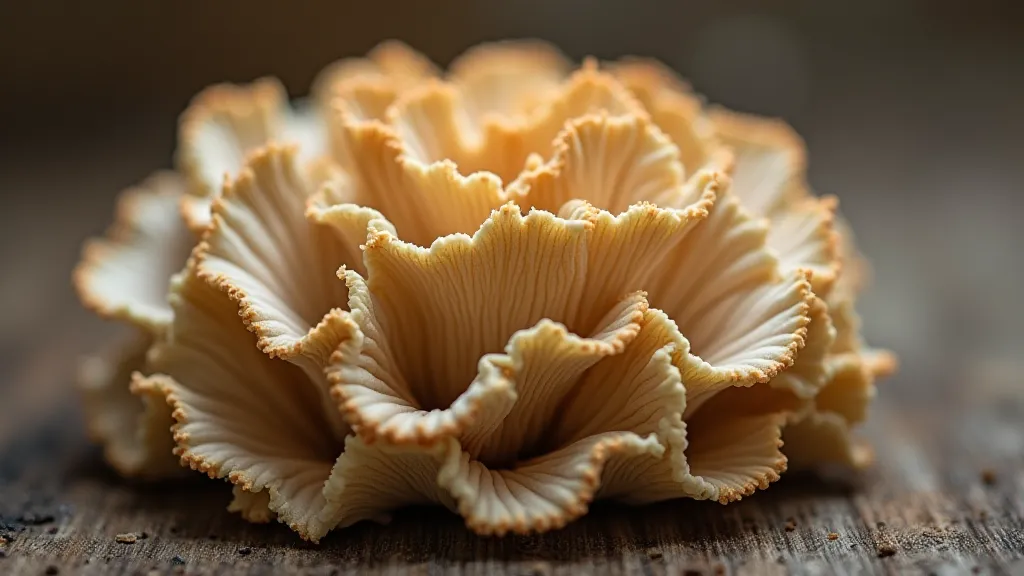
You can typically purchase these blocks online from specialized mushroom supply vendors. When choosing a block, consider the type of mushroom you want to grow. Different varieties have different optimal growing conditions, and the block’s substrate will influence this. For beginners, oyster mushrooms (like Pearl or Blue Oyster) are generally a great choice due to their resilience and relatively quick growth cycles. Shiitake and Lion’s Mane are also popular and can be successfully grown with pre-inoculated blocks.
What You’ll Need
- Pre-inoculated mushroom blocks (quantity depends on desired yield)
- A fruiting chamber (plastic tub, shotgun grow tent, or similar – see options below)
- Spray bottle filled with clean water
- Gloves (nitrile or latex)
- Optional: Humidity monitor
Building Your Fruiting Chamber
The fruiting chamber is crucial for providing the right environment for mushroom development. Here are a few options:
- Plastic Tub Method: This is the most common and budget-friendly. Drill numerous small holes (around 1/4 inch) in the sides and lid of a clear plastic tub. These holes will provide fresh air exchange. You'll want to ensure the tubs you use are food-grade and clean, as even trace contaminants can impact your harvest.
- Shotgun Grow Tent: These are small, portable tents specifically designed for mushroom cultivation. They offer better climate control and are a slightly more professional setup.
- Modified Greenhouse or Cabinet: A larger space can be adapted with ventilation and humidity control, but requires more investment.
Step-by-Step: Fruiting Your Block
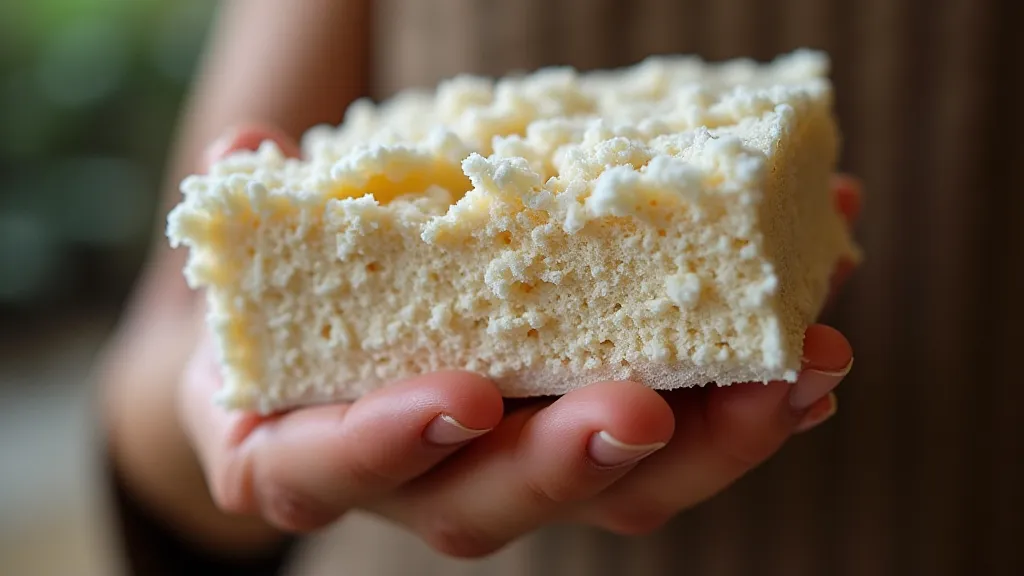
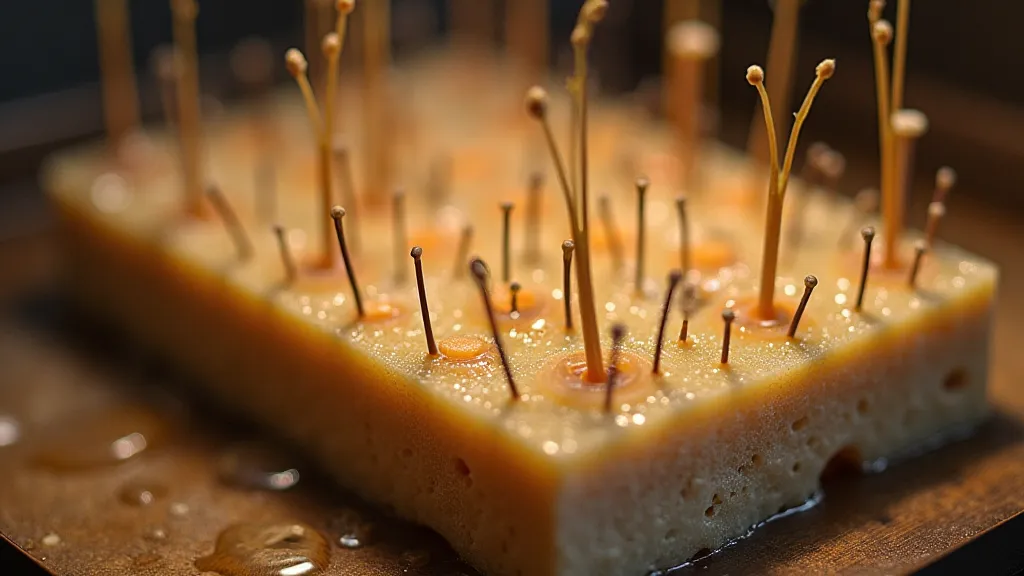
- Prepare the Block: Remove the block from its shipping container. Some blocks may have a layer of plastic wrap or wax around them. Remove this carefully, avoiding disturbing the mycelium. The mycelium is the lifeblood of your grow, so handle with care.
- Hydrate the Block: This is vital for initiating fruiting. Submerge the block in cold water for 12-24 hours. The length of soaking depends on the size of the block - larger blocks require longer soaking. This hydrates the substrate and encourages pinning (the formation of baby mushrooms). The water quality is also important; filtered water is ideal.
- Introduce to the Fruiting Chamber: After soaking, drain the block thoroughly and place it in your fruiting chamber on a raised platform (like bricks or a small tray). This ensures good air circulation around the block.
- Maintain Humidity: Mushrooms thrive in high humidity. Spray the inside of the fruiting chamber 2-3 times daily with clean water to maintain a humidity level of 80-95%. Understanding the nuances of humidity is key to a successful crop.
- Provide Light: While mushrooms don't need intense light, they do need *some* light to orient their growth. Provide indirect natural light or use a low-wattage LED light for 12 hours a day.
- Ventilation: Briefly ventilate the chamber 2-3 times a day to provide fresh air and prevent CO2 buildup. This is especially important when using a sealed chamber like a plastic tub. Proper ventilation also helps prevent mold.
Beyond oyster mushrooms, there's a whole world of fascinating fungi to explore. The King Trumpet, with its regal appearance and delicate flavor, is a truly rewarding mushroom to cultivate, and you can find detailed instructions on King Trumpet mushroom cultivation elsewhere. It’s a testament to the diversity of the fungal kingdom.
Troubleshooting & Tips
- No Pinning? Ensure the block is properly hydrated. Try a slightly longer soak time. Consider the temperature – too cold or too hot can inhibit pinning.
- Green Mold? This indicates contamination. Discard the block and thoroughly clean your fruiting chamber before trying again. Maintaining a sterile environment is crucial.
- Stunted Growth? Insufficient light or poor ventilation can hinder growth. Check your humidity levels too.
- Be Patient: Mushroom growing takes time. Don’t get discouraged if you don’t see results immediately. It's a process that demands observation and adaptation.
- Explore Flavor Profiles: If you're looking for new ways to enjoy your harvest, consider how different cooking methods and pairings can enhance the unique flavors of your mushrooms. You might discover some unexpected culinary delights by experimenting with different recipes – perhaps even branching out to creative culinary uses for uncommon mushrooms.
The Science of Pigmentation and Flavor
The visual appeal of mushrooms isn't just about aesthetics; it's often tied to their flavor and nutritional content. The pigments in mushrooms, known as chromatic echoes, are a fascinating area of study for mycologists. While we’ve focused on the practicalities of growing here, the artistry and alchemy of these pigmentations, and their influence on taste and even potential medicinal properties, is truly captivating.
Enjoy the Harvest!
Once your mushrooms have fully developed, carefully twist or cut them from the block. You can often get multiple flushes (harvests) from a single block, with a few weeks between each flush. With a little care and attention, you’ll be enjoying the delicious bounty of your own home-grown gourmet mushrooms in no time! Don't be afraid to experiment, observe, and learn from each grow. Each flush offers a new opportunity to refine your technique and deepen your connection with the incredible world of fungi.