Oyster Mushroom Cultivation: From Block to Table
Oyster mushrooms (Pleurotus spp.) are a fantastic choice for home cultivation. They's known for their delicious flavor, beautiful appearance, and relatively easy-to-grow nature, making them perfect for beginners venturing into the world of gourmet mushroom growing. This article provides a comprehensive, step-by-step guide to cultivating Oyster mushrooms using the block method.
Understanding Oyster Mushrooms
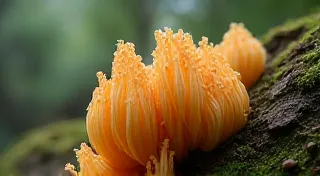
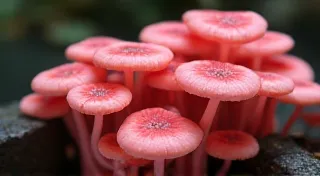
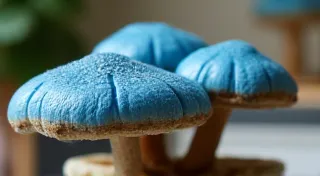
Pleurotus encompasses a wide range of species, each with its unique characteristics. Common varieties include Pearl Oyster (Pleurotus ostreatus), Blue Oyster (Pleurotus pulmonarius), and Golden Oyster (Pleurotus citrinopileatus). While the basics of cultivation are similar across these varieties, fruiting conditions might vary slightly. Choose a variety that appeals to your palate and aligns with your local climate.
Step 1: Selecting Your Oyster Mushroom Spawn
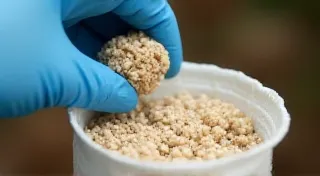
Spawn is the “seed” of your mushroom. It’s typically grain, sawdust, or wood chips inoculated with Pleurotus mycelium. Purchase your spawn from a reputable supplier specializing in mushroom cultivation. Consider the variety you want to grow and the form of spawn: grain spawn is generally preferred for block cultivation. Ensure the spawn is fresh and vigorous, with a healthy, white appearance. Avoid spawn that appears moldy or discolored.
Step 2: Preparing the Substrate – Straw is Key!
Oyster mushrooms thrive on straw, particularly wheat straw. Other substrates like coffee grounds and hardwood sawdust can also be used, but straw offers the best combination of nutrients and ease of use for beginners.
- Chopping Straw: Cut the straw into smaller pieces (2-4 inches long) to increase surface area and ensure even colonization.
- Hydration: This is vital! Straw needs to be thoroughly hydrated. A common method involves soaking the chopped straw in water for several hours, or even overnight. A good rule of thumb is to add enough water so that the straw is fully submerged, then drain the excess. The straw should be moist but not dripping wet—similar to a wrung-out sponge.
- Pasteurization: Pasteurization helps to kill off harmful microorganisms that could compete with the Pleurotus mycelium. A simple method is the "hot water bath" method. Place the hydrated straw in a large container and pour boiling water over it. Let it sit for about an hour, allowing the heat to penetrate.
Step 3: Block Inoculation
Now comes the fun part - introducing the spawn to the prepared substrate. You're creating your grow block.
- Layering: In a clean plastic bag (polypropylene or similar, about 30x45 cm), alternate layers of hydrated, pasteurized straw and Oyster mushroom spawn. A common ratio is roughly 1 part spawn to 10 parts substrate by volume.
- Compaction: Gently compact each layer as you add it to the bag. This helps to create a dense, even inoculation.
- Sealing the Bag: Once all the spawn and substrate are in the bag, fold the top over and secure it tightly with tape or a bag tie. It is beneficial to poke a few small holes (about 3/8 inch in diameter) through the bag to allow for gas exchange.
Step 4: Incubation – The Mycelial Stage
This stage is all about the Pleurotus mycelium spreading throughout the substrate. Keep the inoculated bag in a dark, warm (65-75°F / 18-24°C) place. Avoid direct sunlight. The mycelium will colonize the straw, turning it white. This process typically takes 2-4 weeks, depending on the temperature, spawn rate, and substrate moisture.
Step 5: Fruiting – Bringing on the Mushrooms!
Once the straw is fully colonized (it will be completely white), it’s time to induce fruiting. This requires changes in environment:
- Light: Introduce diffused light (indirect sunlight is ideal).
- Temperature: Slightly lower the temperature (55-70°F / 13-21°C).
- Humidity: Increase humidity to 80-90%. This can be achieved by misting the block with water several times a day.
- Airflow: Ensure good airflow to prevent CO2 buildup.
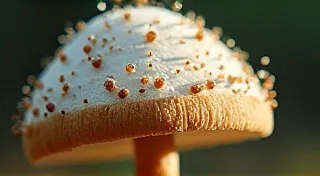
Small "pins" (tiny mushroom primordia) will begin to appear on the surface of the bag. These will rapidly develop into mature Oyster mushrooms. Harvest the mushrooms when the caps are fully expanded but before they start to drop spores.

Harvesting and Subsequent Flushes
Gently twist and pull the mushrooms from the block. Subsequent “flushes” of mushrooms can be obtained by rehydrating the block by soaking it in cold water for 12-24 hours and then returning it to a fruiting environment. The block will gradually exhaust its resources and produce fewer mushrooms with each flush.